Photoshop Intro
To create my header I used a couple different tools. The first tool I used was for my mountain's hue change. You first have to select a circular shape on the mountain with the "Elliptical Marquee Tool". Then after you have selected a circle of your mountain you have to go to "Image", "Adjustments", then "Hue/Saturation". There you can mess with the hue of the selected circle, for example I changed the hue inside the circle to a blue/green hue.
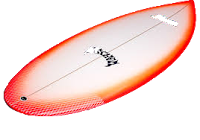
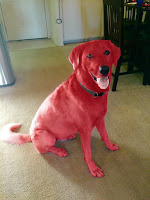
Another feature I used was creating a transparent background for the dog and surfboard pictures, (otherwise it would've looked strange adding them in with a white square background). First I created a new "file" page to edit each individual photo. Then, by using the "Lasso Tool" I traced the part of the photo I wanted to keep (around the dogs and surfboard). Then after what I wanted was selected, I right-clicked and pressed "select inverse", (to select everything in the image except the dog or surfboard). Then I pressed the backspace key to delete everything but the part of the image that I wanted to keep. After that I had a transparent image and I could save the image without a background, (so that when placed in front of the mountain picture, you would only see the dog [no white]).
After just dragging and dropping the transparent background photos to where I wanted them on the screen, I added my text. To do this I simply clicked on the "Horizontal Type Tool" and then type out what I wanted to add, which was "Phoebe Joyce GD". I changed the colours of my text to white, because white shows up better on the background that I have. To do this you go to the "Text attributes panel" then the "Text Colour pallet". A colour rainbow colour square should appear and you just have to click on the top left of the square (where it's white) and then click "OK". From there I just adjusted my text a bit, by dragging it to the center of my header.



Comments
Post a Comment